

WebSockets Part 1 - How to create a WebSocket Proxy in DataPower
•
by
Chris Phillips

DataPower provides the facility to proxy WebSocket connections. This article is part one of a three part guide consisting of
- Part 1 - How to create a WebSocket Proxy in DataPower
- Part 2 - How you can use API Connect to secure your implementation
Part 3 - How to socialise it via the Developer Portal giving your consumers the easiest- Part 3.1 - How to socialise it via the Developer Portal giving your consumers the easiest way to use your websocket
Please note this has only been tested with text based WebSockets.
DataPower is used to protect and proxy http connections. As a WebSocket is an upgraded HTTP Connection it allows DataPower to offer similar protection and proxying facilities. When a WebSocket connection is established with DataPower, it applies the Multi-Protocol Gateway policies before the connection is upgraded. This means that additional logic can be applied to validate the request. In this series of articles we are going to be using API Connect for this.
Note: if you are doing this on the same DataPower as API Connect I recommend this is run in its own dedicated domain. This solution should not be used in a Multi-Protocol Gateway that was created for the purpose of exposing APIs.
Prerequisites
- DataPower running the latest 2018.4.x firmware
- A dedicated application domain (not needed but it helps)
- A WebSocket server application
- A WebSocket client application
Step by Step how to configure
- Log into the Application Domain of the DataPower

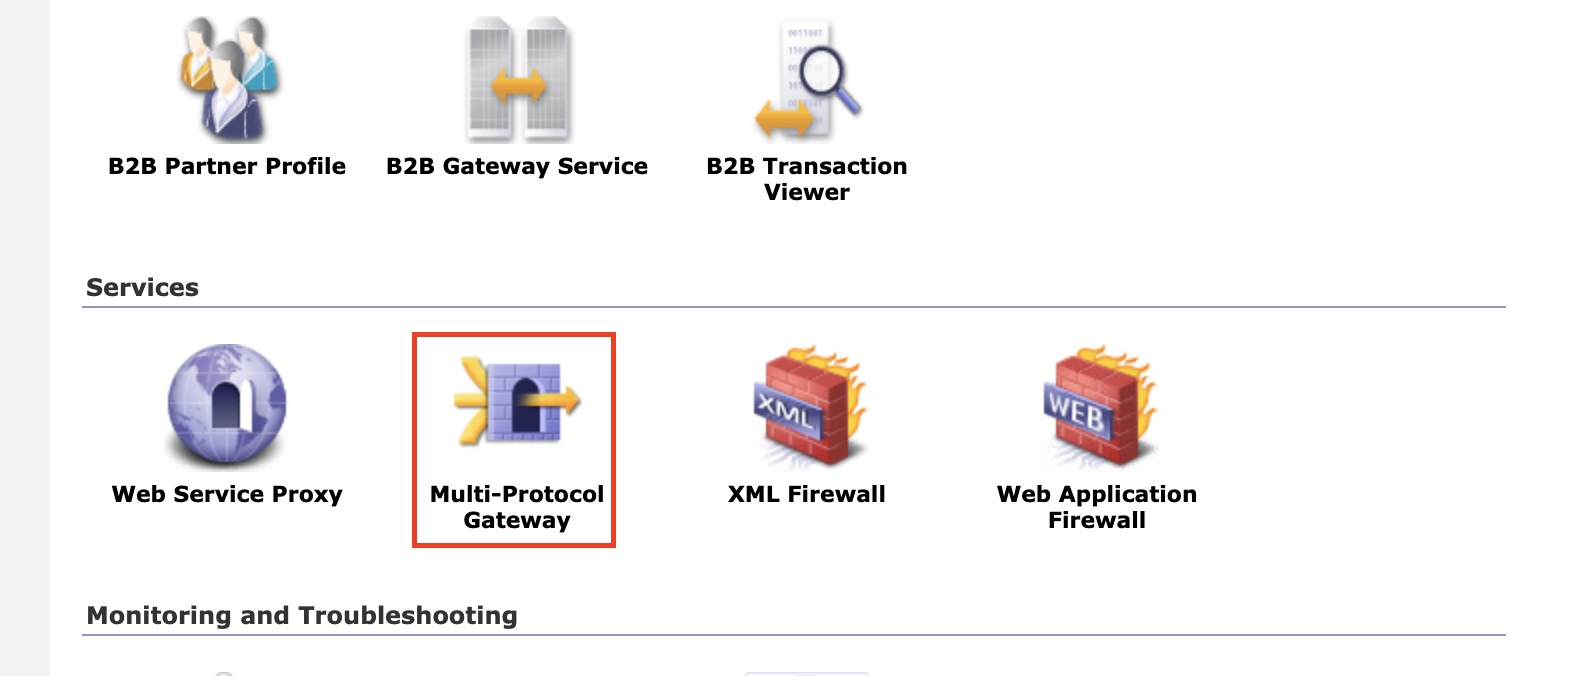
- Create a new Multi-Protocol Gateway
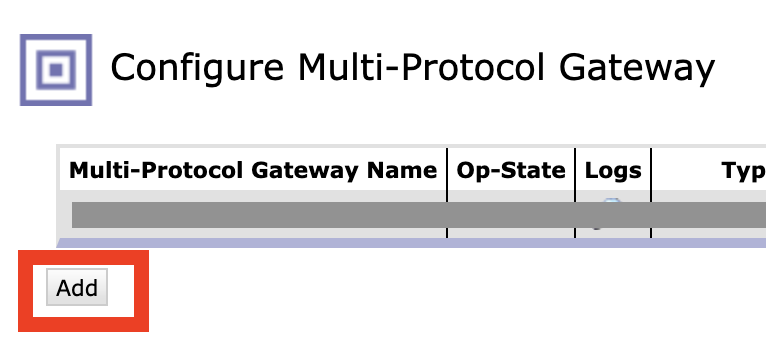
- Click on Multi-Protocol Gateway
- Click on add
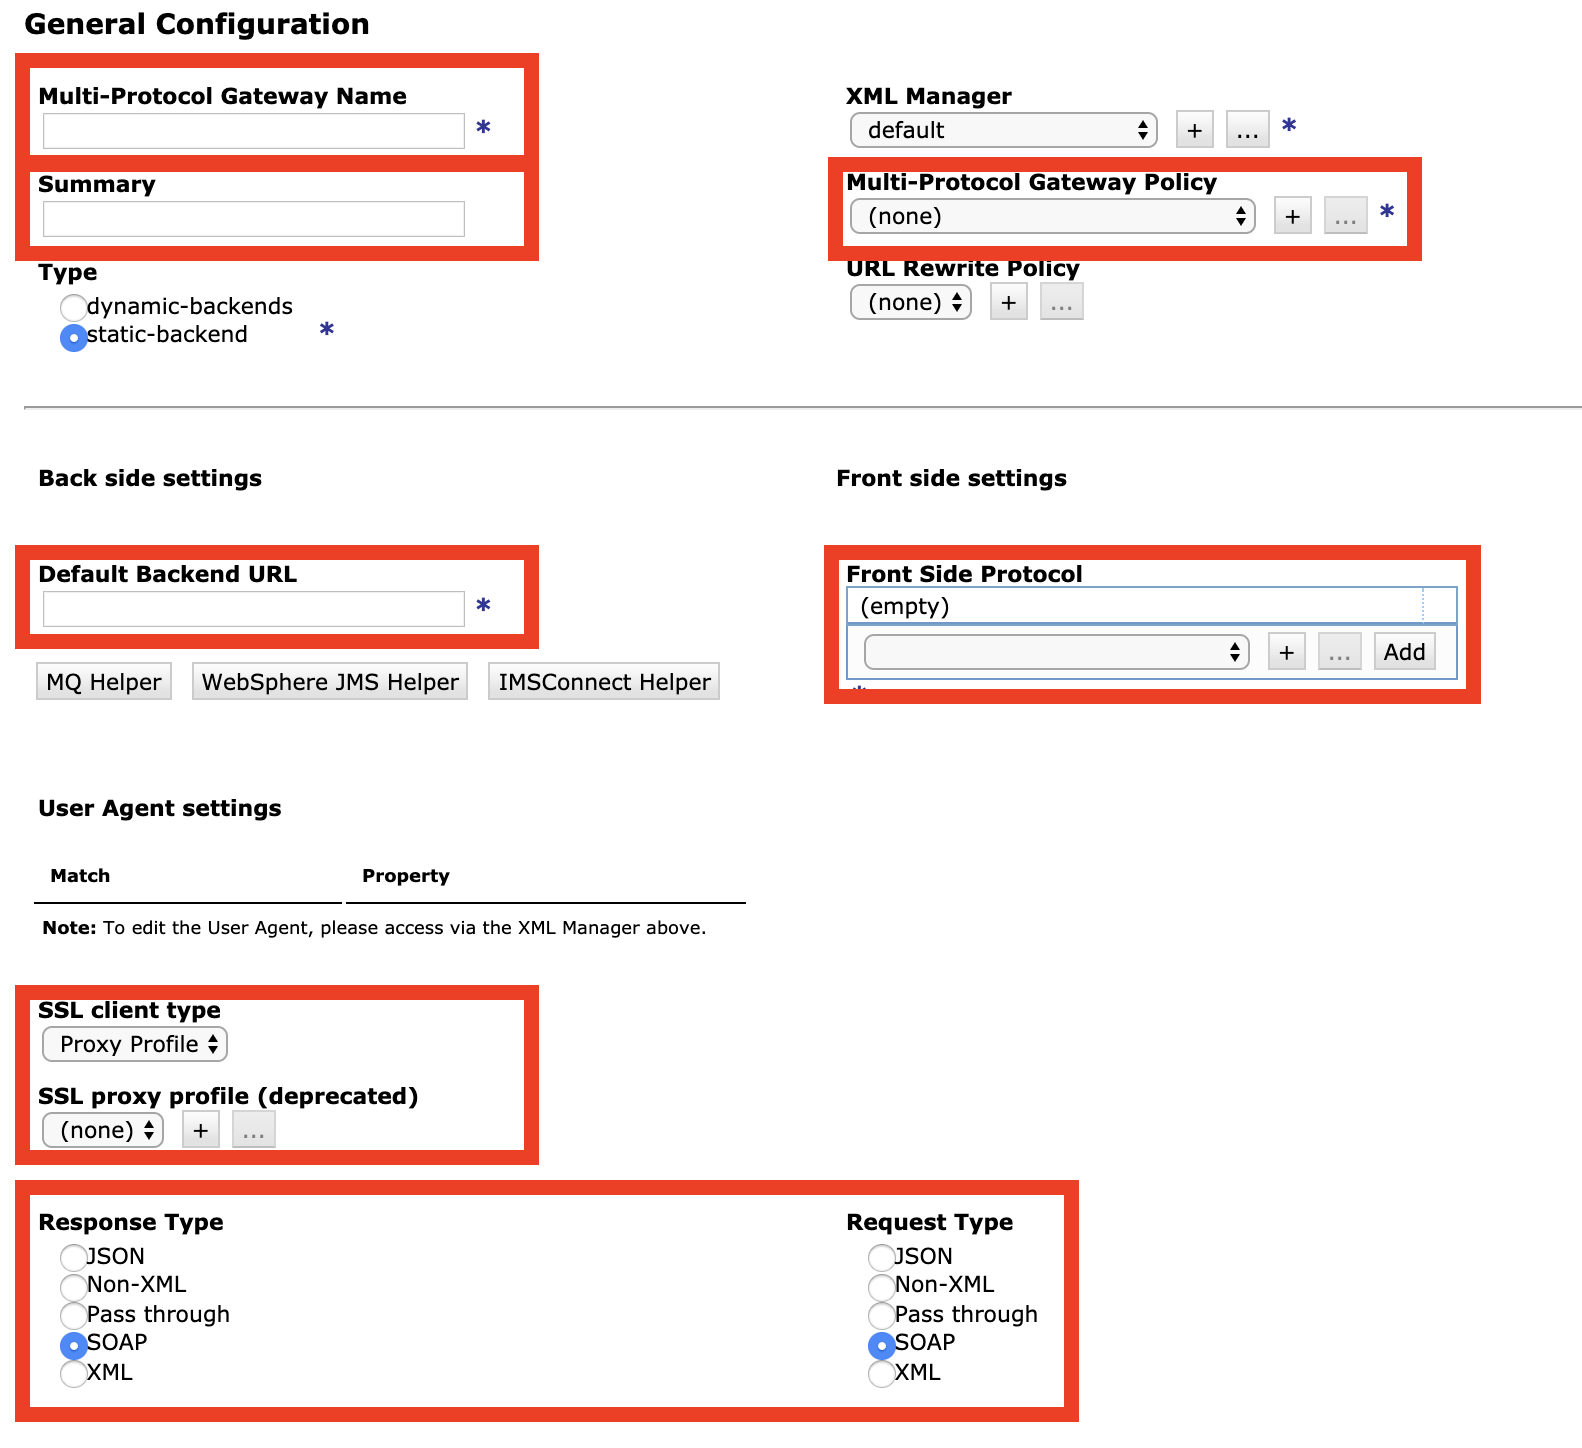
- Set the
Multi-Protocol Gateway Name - Set the
Summary - Set the
Multi-Protocol Gateway Policyto default - Set the
Default Backside url- Note that this should use http/https not wss/ws
- Publicly available sites do not always upgrade requests on http or https.
- If you do not have a WebSocket server application available use my one available here https://github.com/ChrisPhillips-cminion/PlayingWithWebSockets
- Set the
Response and Request Typetonon-xml
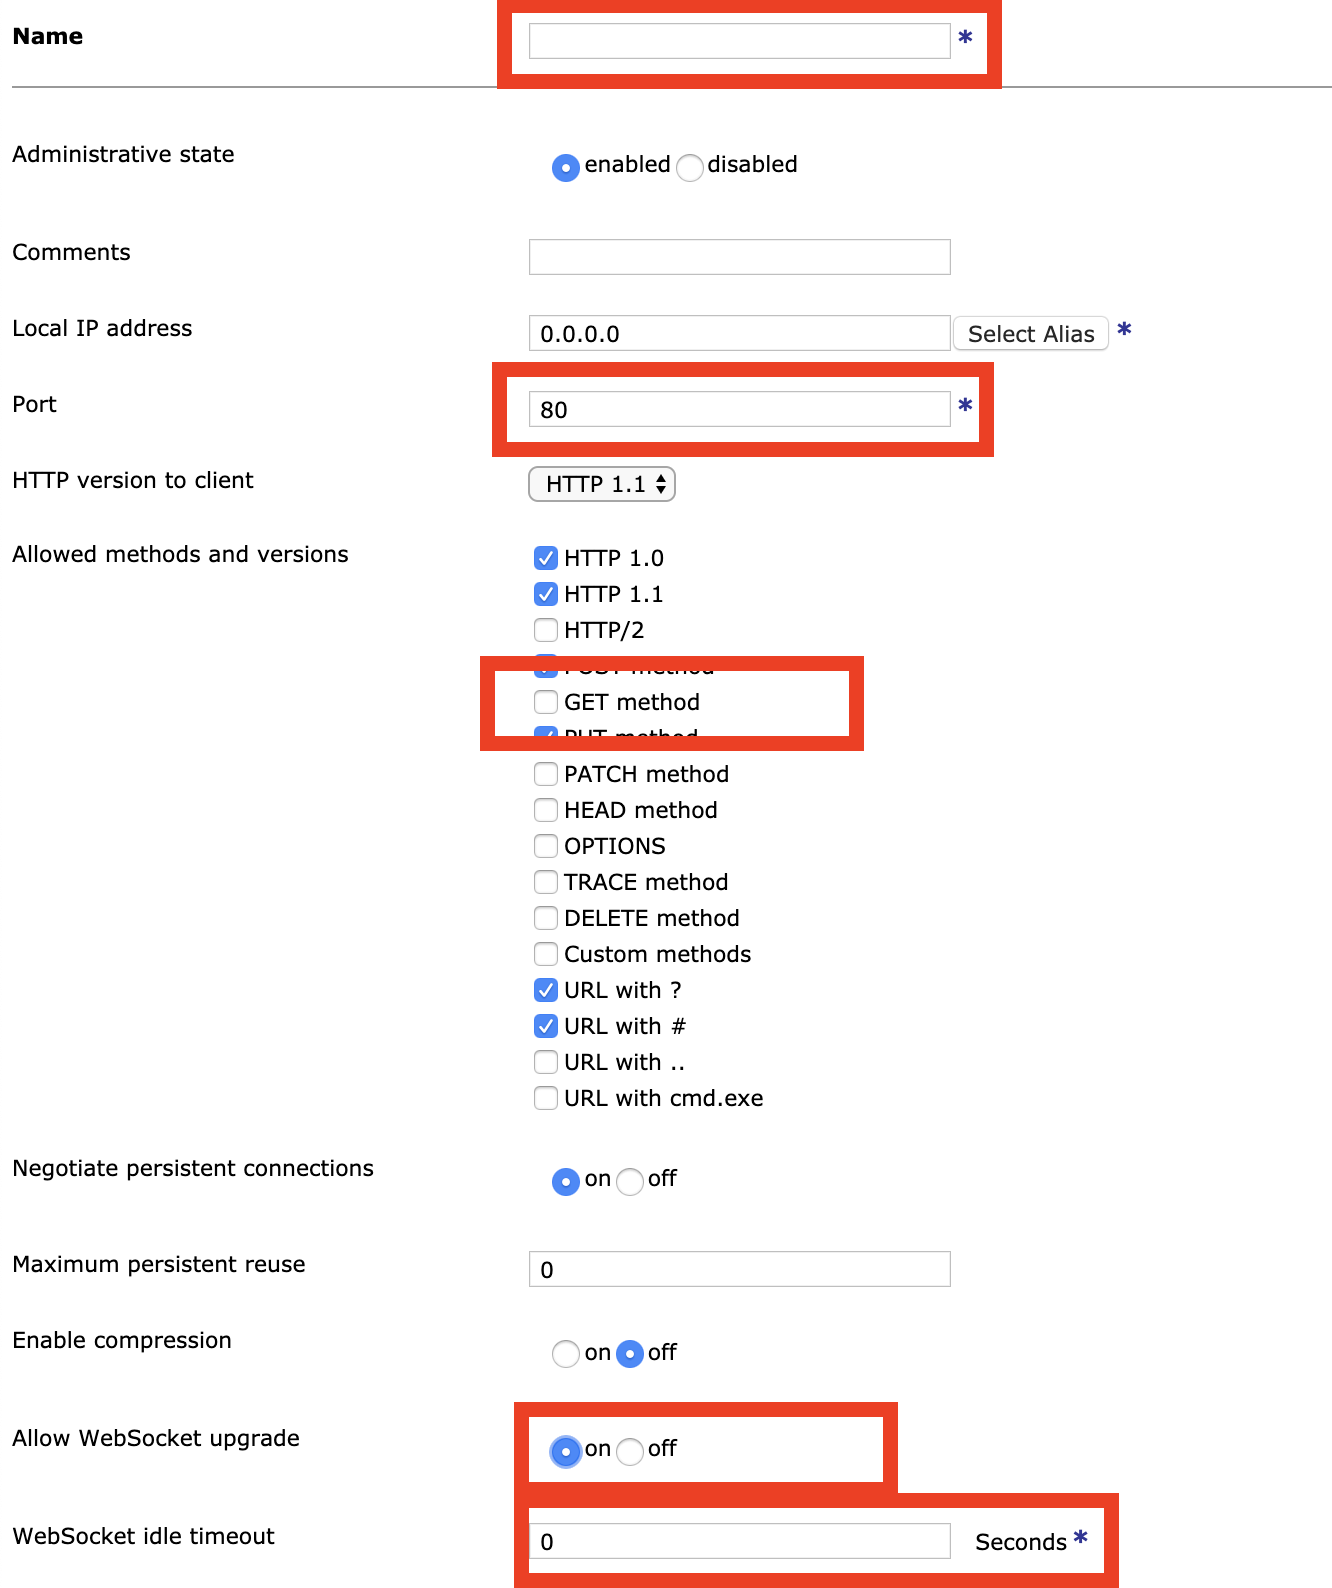
- Create a Front Side Handler
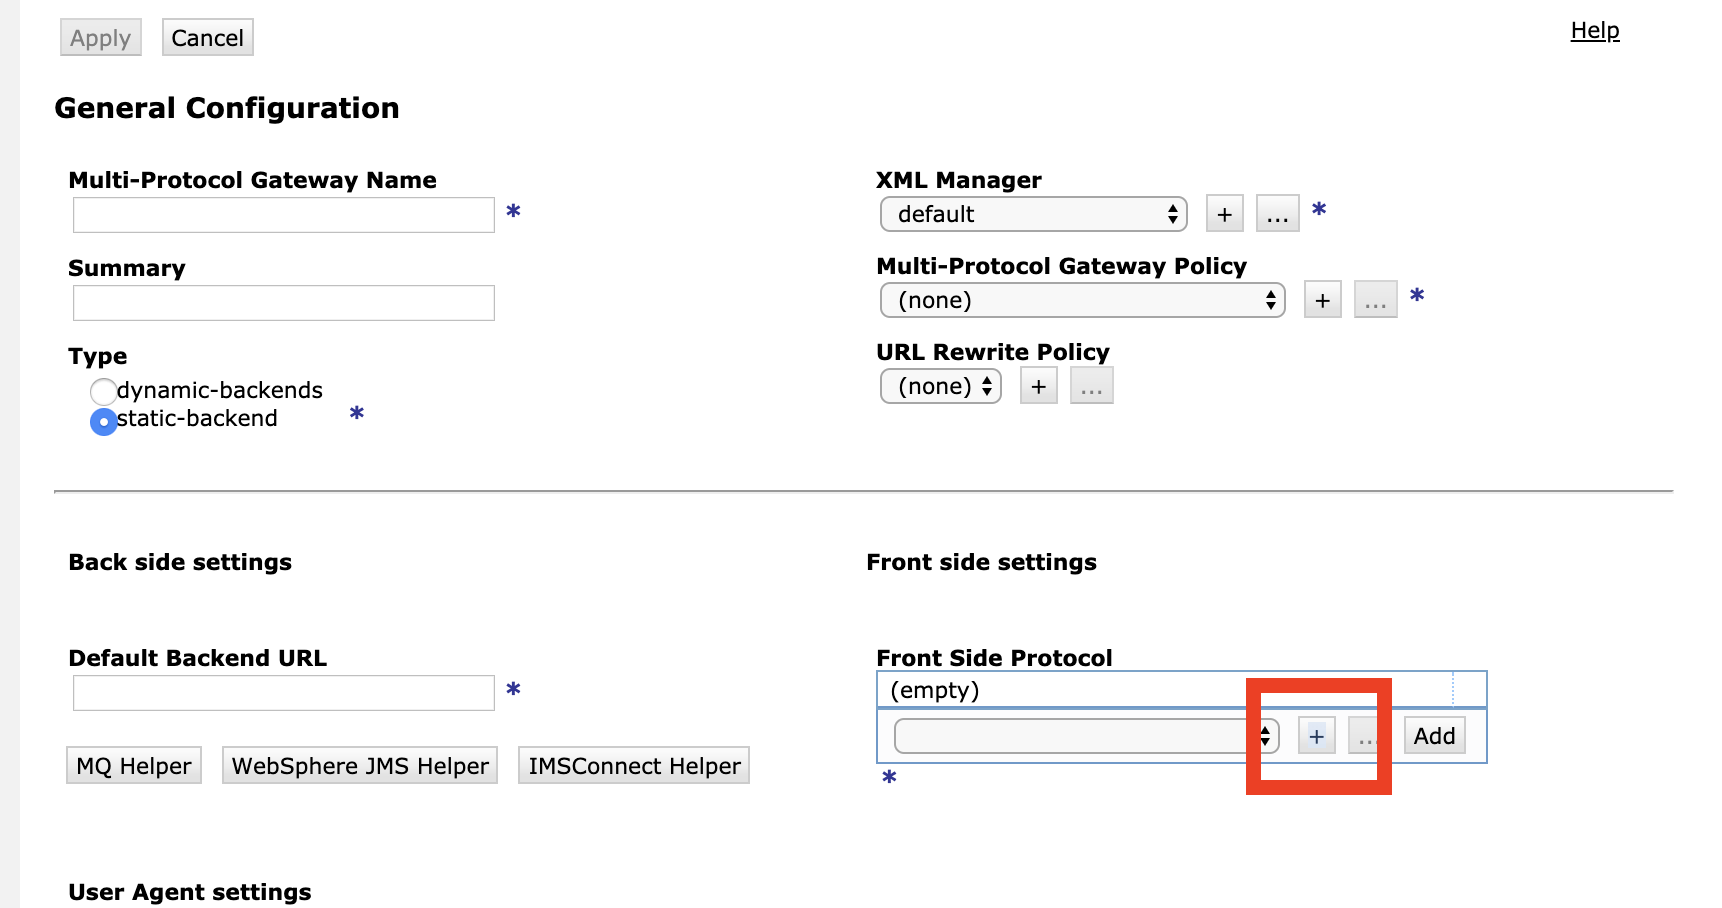
- Click on the + to the right of the Front Side Protocol
- Select HTTP Handler
- HTTPs can be used but we will not cover configuring SSL in this article
- HTTPs can be used but we will not cover configuring SSL in this article
- Set the
Name - Set the
Port - Select Get in
Allowed methods and versions - Set the
Allow WebSocket Upgradeto on - Set the
WebSocket Idle Timeout- This value dictates how long an idle connection is open before it is terminated.
- Press Apply
- Create an SSL Client Profile
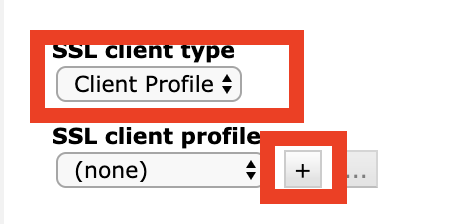
- In the Multi-Protocol Gateway editor set the SSL Client Type to Client Profile
- Click on the + to the right of the SSL Client Profile
- For the sake of this demo we will configure without security in mind
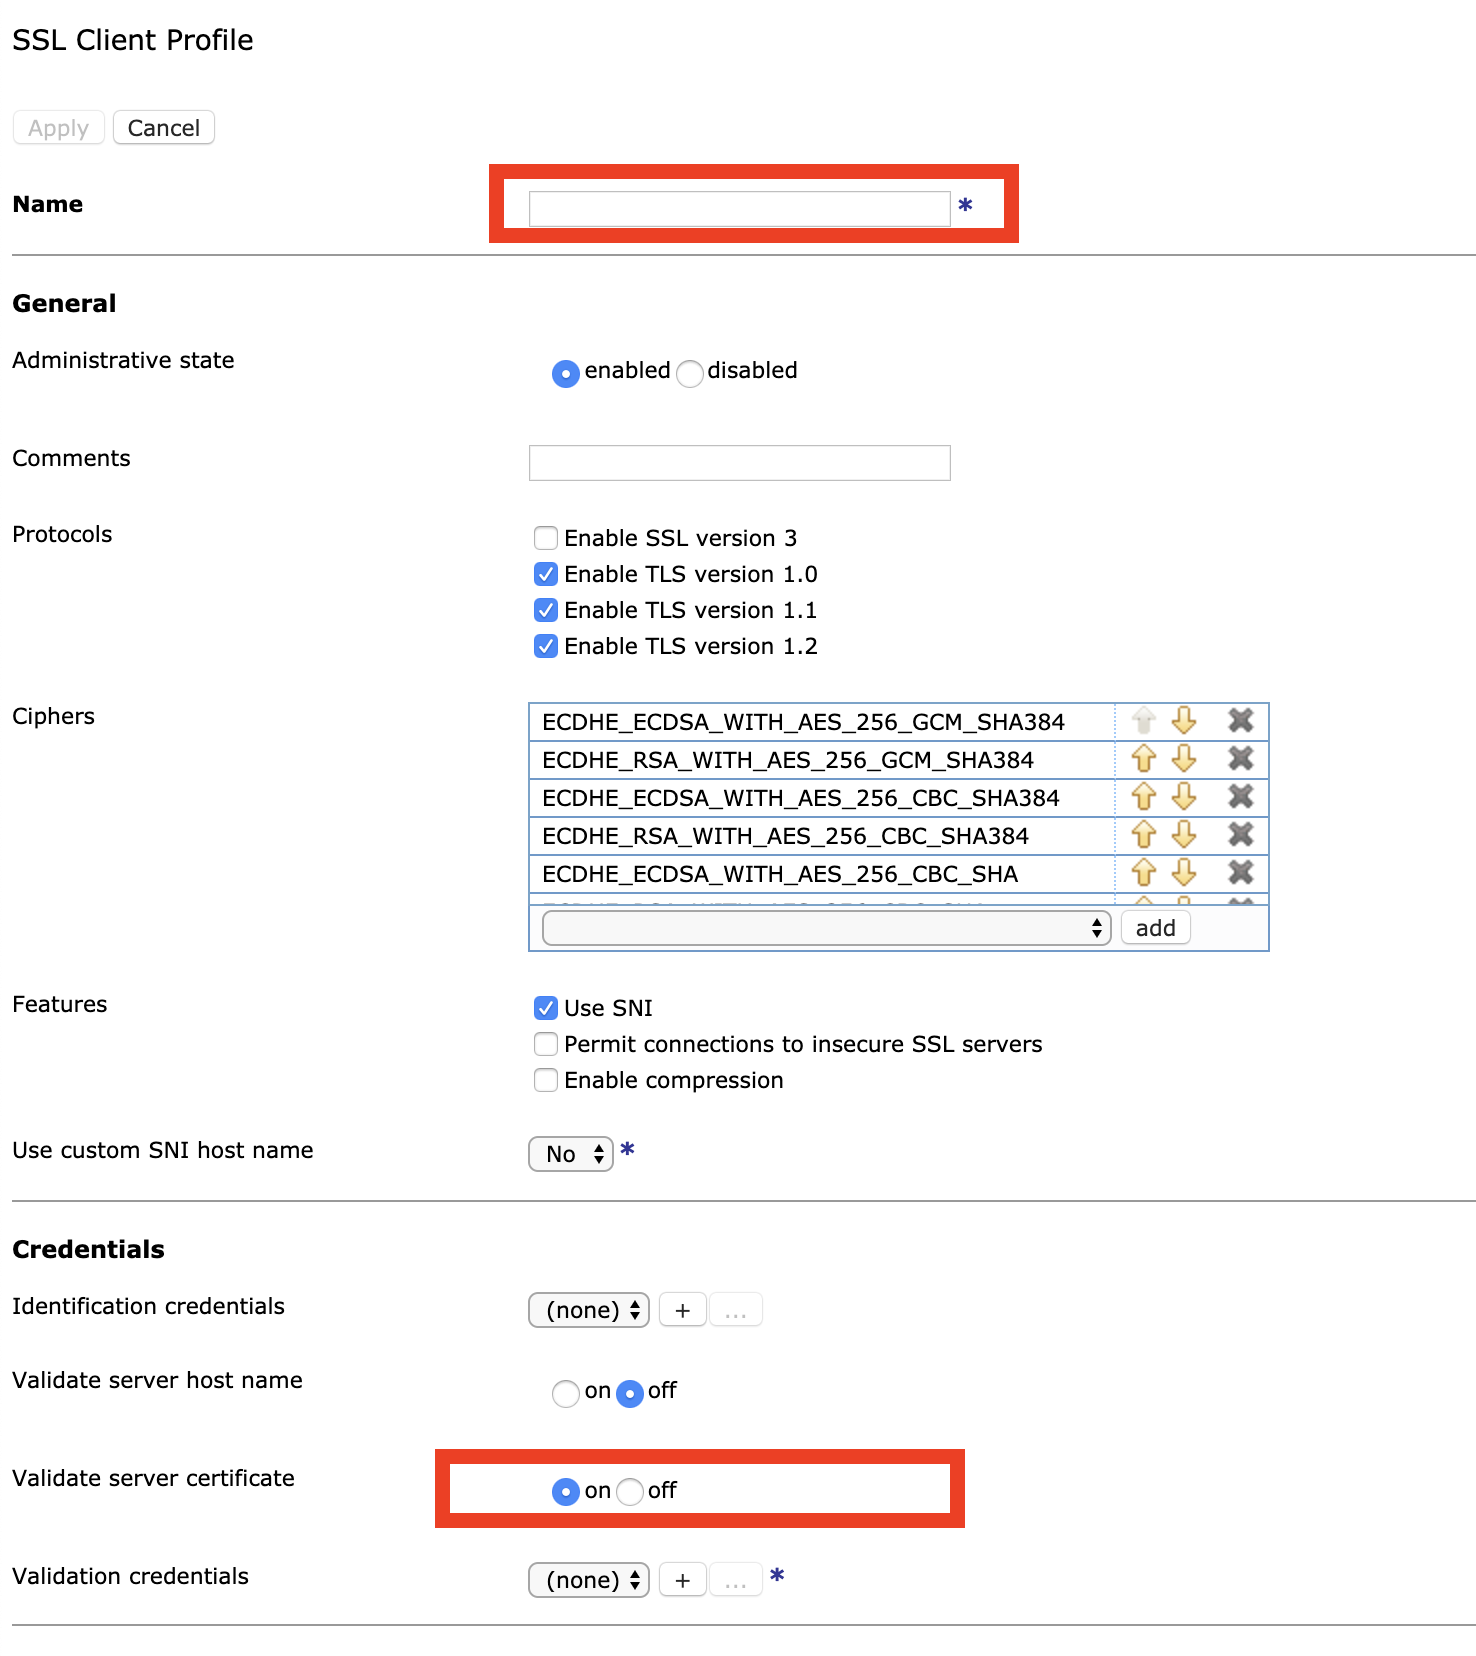
- For the sake of this demo we will configure without security in mind
- Set the
Name - Set
Validate server certificateto off- This is not recommend for systems that are not prototypes
- Press Apply.
Testing
In order to test this you will need a WebSocket client and WebSocket server. I have a simple sample available here https://github.com/ChrisPhillips-cminion/PlayingWithWebSockets. The DataPower should be configured to point to the server NodeJS application. In your WebSocket Client set the url to be ws://<DataPower Host>:<Port set in step 3>